A nagging ache in your lower back area can be frustrating to deal with, let alone on a daily basis. Yet several people wake up to this pain every morning and bear it for the rest of their day. Some even turn to over the counter medication to get a little relief from the pain, however, this is only temporary.
So, how can you relieve lower back pain without medication? Well, medical experts suggest using the most natural solutions that don’t cost a thing — stretching and exercising. Of course, there are specific types of stretches/exercises intended to relieve pain from targeted regions and muscles of the body. In fact, if performed on a daily basis, they can even prevent lower back pain altogether. Moreover, stretching exercises can be done when the ache exists and yet, will not cause more pain or discomfort. On the contrary, they are known to provide fast relief from lower back pain!
With that said, here are our top ten stretches and exercises for lower back pain, and how you can perform them safely.
1. Supine Twist
Directions:
- Lie flat on your back and bend your knees to allow your feet to be flat down on your yoga mat.
- Stretch your arms out on either side to form a ‘T’ (they should be touching the floor).
- With your shoulders and upper back resting on the mat, slowly bring your knees to one side until the leg underneath touches or rests on the floor. Hold the position for 15 – 20 seconds before rolling your knees back to the starting position.
- Do the same on the other side.
TIP: If the pain does not allow you to stretch all the way to the floor, place a large pillow or two on either side of you for your knees to rest when holding the pose.
2. Figure ‘4’
Directions:
- Lie down on a yoga mat, bend your knees, and keep your feet flat down on the mat.
- Raise your right foot and allow your ankle to rest on your left leg (just below the knee).
- Hold the back of your left leg by interlocking your fingers, and gently pull your left knee forward (towards you).
- When you feel enough intensity in the stretch, stop and hold it for 10 – 15 seconds while taking deep breaths.
- Repeat with the other leg.
3. Bridge Pose

Directions:
- Lie flat on your back, bend your knees, and pull your feet close to your glutes while they are flat on the mat, parallel to your hips. Keep a distance of approximately 6 – 8 inches between your heels and glutes.
- Raise your hips so that your body creates a straight line sloping down from your knees to your chest.
- As much as possible, try to push your sit bones downward (in the direction of your knees).
- Stay in this position for 30 seconds.
4. Cat Stretch
Directions:
- Start on your hands and knees; make sure that your palms are facing down and in line with your shoulders while your knees and hips are also lined up.
- To begin the stretch, push your mid-back upward so that it is rounded (much like a cat stretches). Let your head move downward to create a semi-circle. Hold the stretch for 5 – 10 seconds.
- Relax your back by dropping your stomach until your back is arched. Hold this pose for another 5 – 10 seconds.
5. Knee-to-Chest
Directions:
- Lie flat on your back, bend your knees, and keep your feet flat on the mat.
- Depending on which position is more comfortable for you, either place your hands behind your knees while they are in a bent position or hold just below your kneecaps.
- Gradually pull your knees down towards your chest.
- Stay in this position for 20 – 30 seconds while breathing deeply.
NOTE: You can also do this stretch using one leg at a time.
6. Child’s Pose
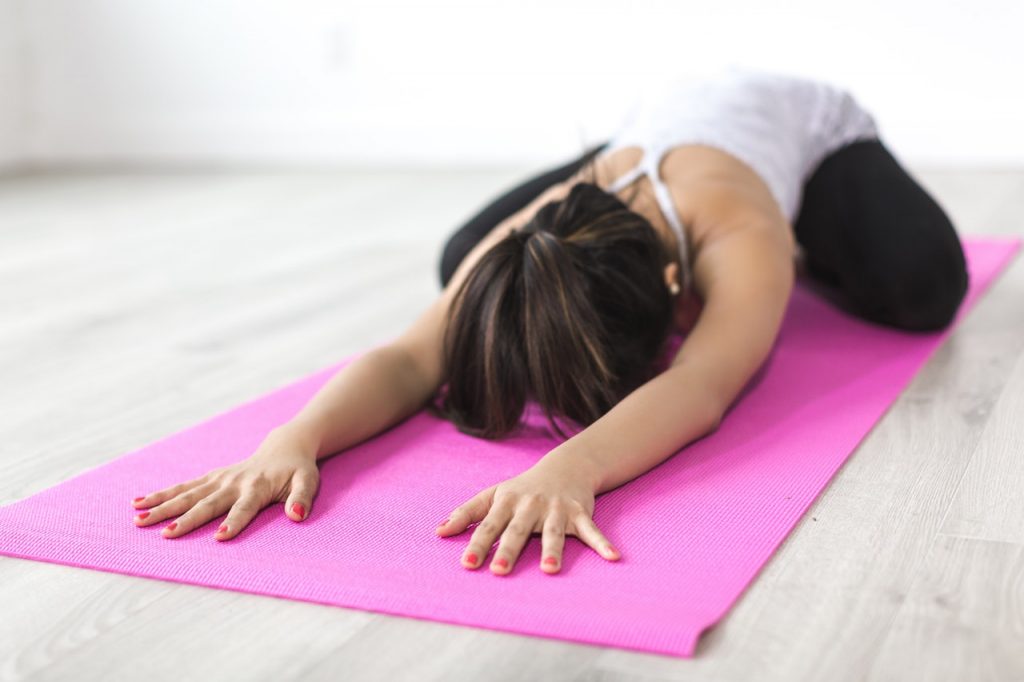
Directions:
- Start out on your hands and knees; keep your palms flat down and parallel to your shoulders while your knees are lined up under your hips.
- Extend each arm in front of you with your palms still down on the mat. Lower your upper body as you do this.
- Pull your glutes toward your heels to the point where you are almost sitting on your feet. Move your head downward so that it is in line with your upper back.
- While in this position, try to extend your arms further away to increase the stretch (as much as you are comfortable with).
- Hold the stretch for 20 seconds.
7. Seated Rotations
Directions:
- While seated on an armless chair or stool, place your feet firmly on the floor and keep your back straight.
- Slowly rotate your torso to the left, making sure that your hips are steady. If you need to increase the stretch, hold the back of the seat with your right hand to help twist your core more.
- Stay in this position for 10 seconds before repeating on the other side.
8. The Superman
Directions:
- Lying face down, keep your legs straight and arms stretched out in front of you (like superman).
- Lift your upper body off the floor and raise your arms high enough so that they are just below or in line with your chin. Simultaneously, your legs should be raised off the floor ( at least 5 – 6 inches above the ground).
- Hold this position for 2 – 3 seconds while your face is looking down at the ground. Your neck muscles should be relaxed, therefore, your head position should be adjusted as necessary.
9. Pelvic Tilt
Directions:
- Lie on your back, bend your knees enough to keep your feet flat on the floor and close to your glutes.
- With your arms resting by your sides, arch your back a little bit by pushing your belly button upward. Keep this position for 5 seconds.
- Relax your back in the opposite direction by flattening your lower back against the floor. Hold for another 5 seconds and release.
10. Seated Forward Bend
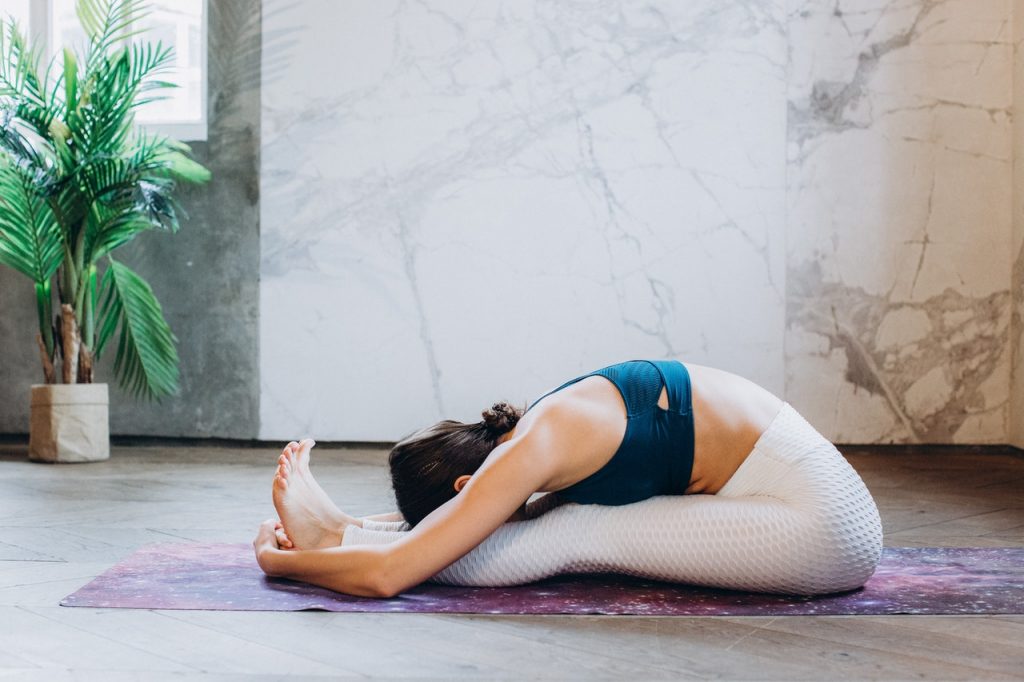
Directions:
- While in a seated position on the floor, extend your legs forward so that they are parallel to each other.
- Place a towel below your feet with both ends pulled up towards your knees.
- Slowly lean forward without rounding your back.
- With the help of the towel that is hooked below your feet, pull yourself forward so that you are able to bend and stretch more.
- Stay in this position for 20 – 30 seconds.
We understand how stressful and, more importantly, painful a lower backache can be, however, our expert chiropractors are here to tell you that you don’t have to live with it! Along with these simple stretching exercises to relieve lower back pain, we offer chiropractic care that will help alleviate all types of aches and pains in the body including headaches and upper back pain.